Kia Niro: Front Seat / Front Seat Back Cover Repair procedures
| Replacement |
Put on gloves to protect your hands. |

|

| 1. |
Remove the front seat assembly. (Refer to Front Seat - "Front Seat Assembly") |
| 2. |
Remove the front seat outer shield cover. (Refer to Front Seat - "Front Seat Outer Shield Cover") |
| 3. |
Remove the front seat shield inner cover. (Refer to Front Seat - "Front Seat Shield Inner Cover") |
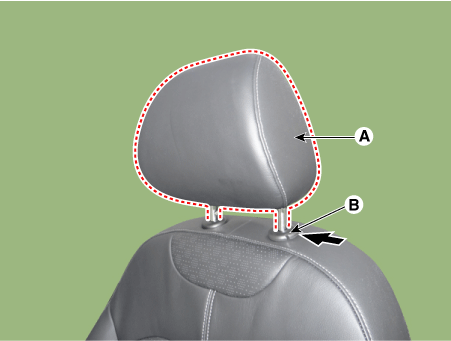
| 4. |
Push the lock pin (B), and remove the front seat headrest (A).
|
| 5. |
Remove the front seat lower protector (A).
|
| 6. |
Remove the front seat back board (A).
|
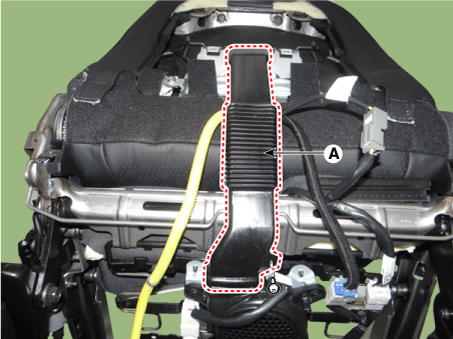
| 7. |
Remove the air ventilation duct (A). [UPPER]
[LOWER]
|
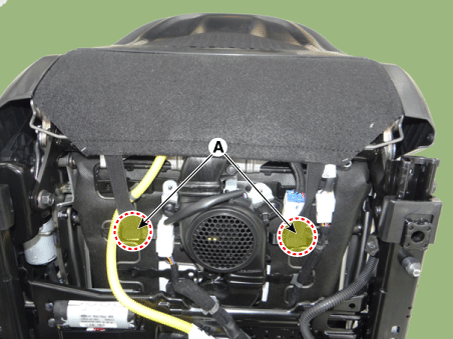
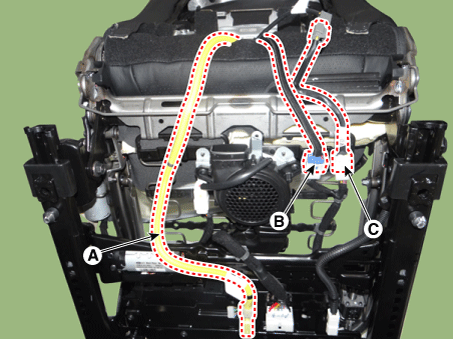
| 8. |
Disconnect the airbag connector (A), heater connector (B), and extension wiring connector (C).
|
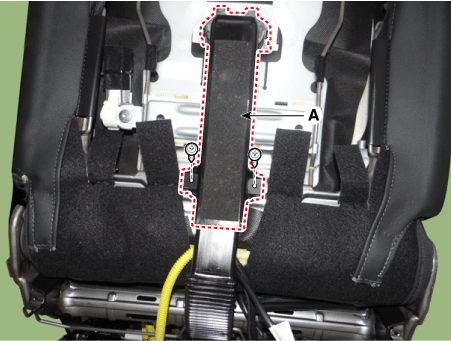
| 9. |
Pull out the protector (A) from the front seat back frame.
|

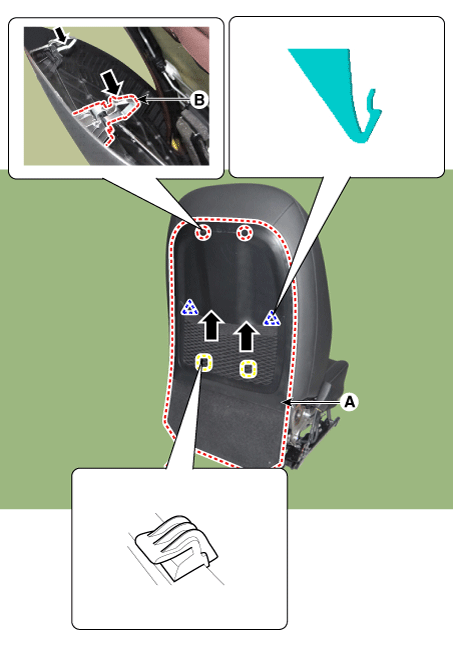
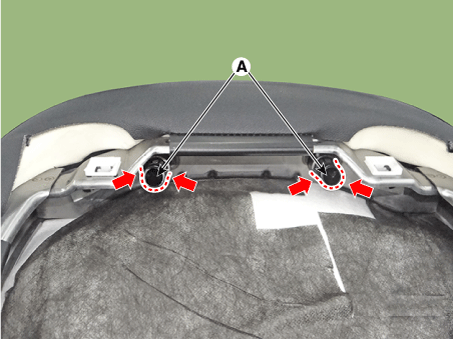
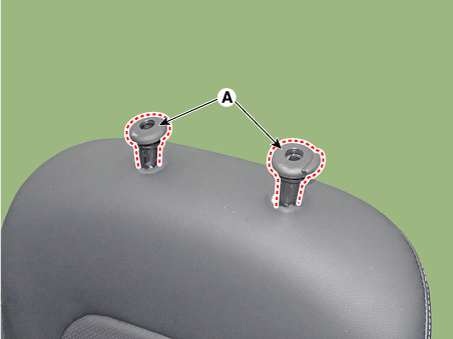
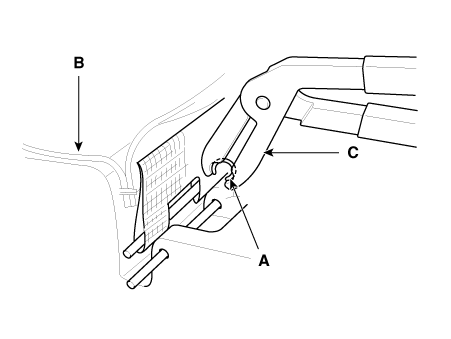
| 10. |
Turn the front seat back cover inside out. Then pull out and remove the headrest guides (A) while pinching both sides of the lower part of the guides.
|
| 11. |
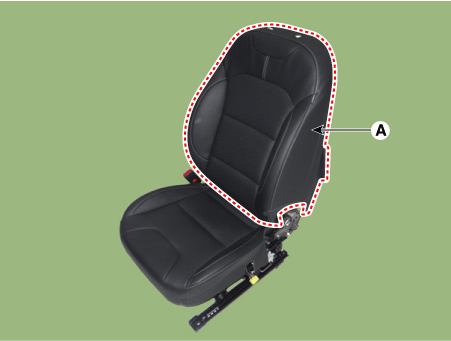
Remove the front seat back cover (A) from the front seat back frame.
|
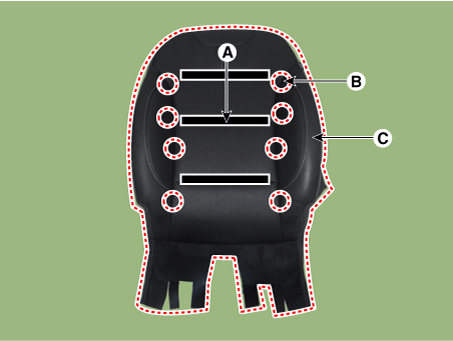
| 12. |
After removing the velcro tape (A) and hog-ring clips (B) from the front of seat back, remove the front seat back cover (C).
|
| 13. |
Install in the reverse order of removal.
|
 Front Seat Back Cover Components and components location
Component Location
1. Front seat back cover
...
 Front Seat Cushion Cover Components and components location
Component Location
1. Front seat cushion cover
...
Other information:
Kia Niro 2017 (DE HEV) Service Manual: Clutch Actuator Assembly Repair procedures
Removal
1.
Remove the under cover.
(Refer to Engine Mechanical System - "Engine Room Under Cover")
2.
Disconect the clutch actuator connector (A) and then remove the fork
cover (B).
Tightening torque :
...
Kia Niro 2017 (DE HEV) Service Manual: TJ Joint Components and components location
Components
[LH]
1. BJ assembly
2. BJ circlip
3. BJ boot band
4. BJ boot
5. Dynamic damper band
6. Dynamic damper
7. Shaft
8. TJ boot band
9. TJ boot
10. Spider assembly
11. Retainer ring
12. TJ hou ...
