Kia Niro: Clutch System / Engine Clutch Actuator Repair procedures
| 1. |
Turn the ignition switch OFF and disconnect the battery (-) terminal.
|
| 2. |
Remove the under cover.
(Refer to Engine Mechanical System - "Engine Room Under Cover")
|
| 3. |
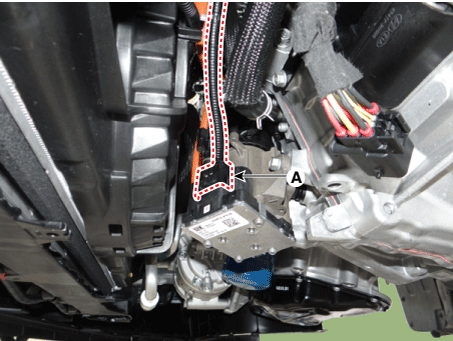
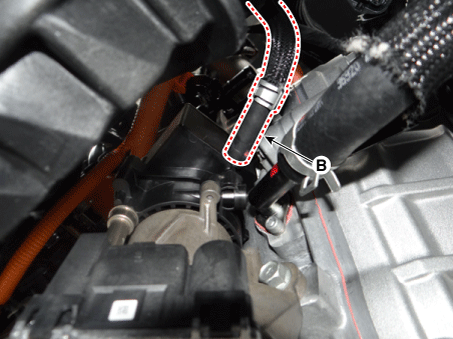
Disconnect the engine clutch actuator connector (A) and hose (B).
|
| 4. |
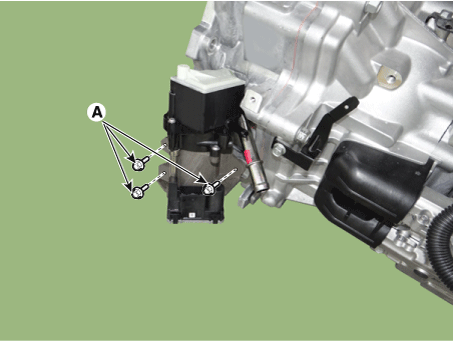
Loosen the engine clutch actuator bolts (A) and then remove the engine
clutch actuator.
|
Tightening torque :
21.6 - 26.5 N.m (2.2 - 2.7 kgf.m, 15.9 - 19.5 lb-ft)
|
|
Make sure that the hydraulic fluid or foreign substance does
not enter the connector assembly of the actuator.
|
|
| 1. |
Install in the reverse order of removal.
|
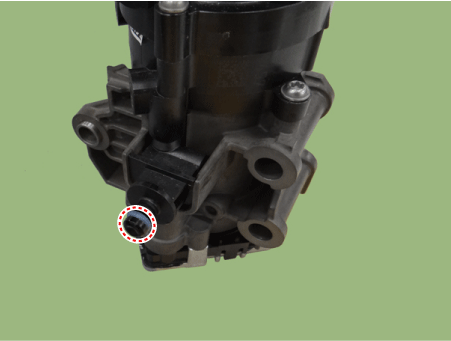
Before installing the engine clutch actuator, check the assembled
state of the O-rings (A).
|
|
| 2. |
After replacing the engine clutch actuator, operate the followings in
order using GDS / KDS equipment.
| (1) |
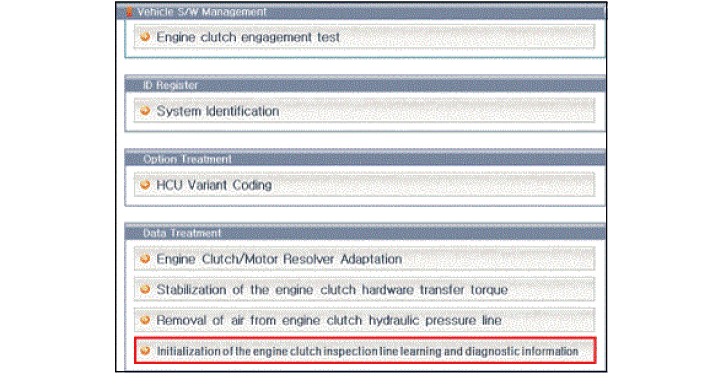
Engine clutch inspection line learning and diagnostic information.
|
| (2) |
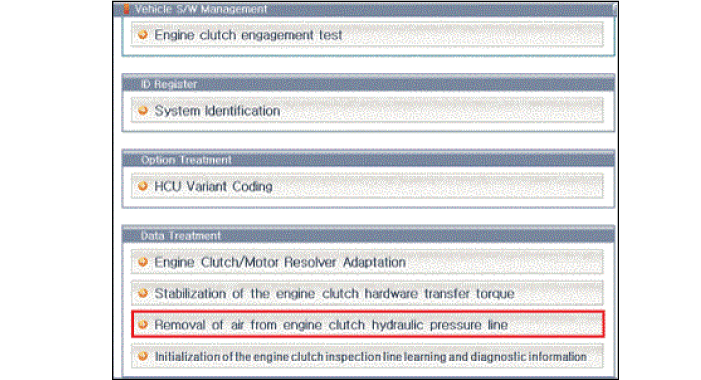
Removal of air from engine clutch hydraulic pressure line
|
• |
When using vacuum pressurized hydraulic fluid
injection device, change maximum vacuum pressure
to 2.5 torr and injection pressure to 2.3-2.5 bar.
|
|
• |
If it is impossible to inject hydraulic fluid
using the above condition, be sure to remove air
from the hydraulic line of the engine clutch at
a temperature between 0 - 40°C
|
|
|
| (3) |
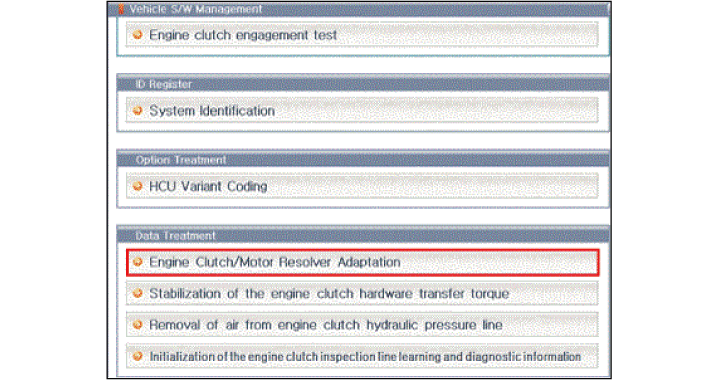
Engine clutch/motor resolver adaptation.
|
| (4) |
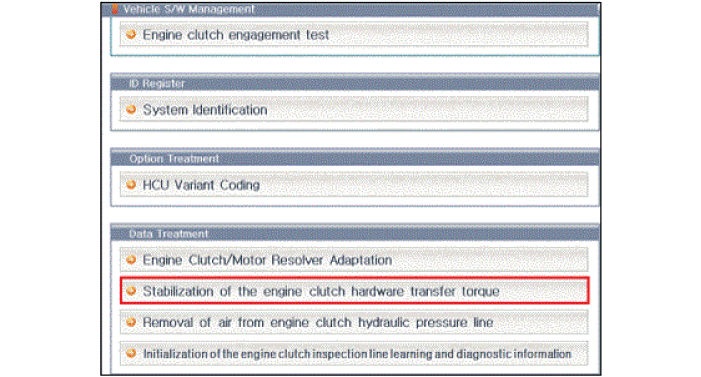
Stabilization of the engine clutch hardware transfer torque.
|
|
Schematic Diagrams
Harness Connector
Terminal
Function
1
-
2
IG-1
...
Components
1. Clutch disc
2. Clutch cover
3. Concentric slave cylinder
4. Hybrid motor assembly
5. Engine clutch actuator
6. Reservoir
...
 Engine Clutch Actuator Schematic diagrams
 Concentric Slave Cylinder Assembly Components and components location


