Kia Niro: Crash Pad / Glove Box Housing Repair procedures
| Replacement |
Put on gloves to protect your hands. |
|
| 1. |
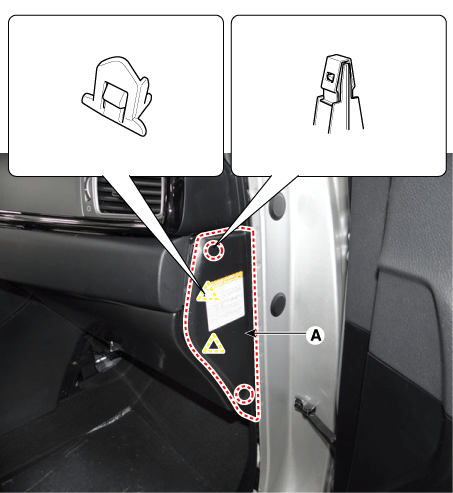
Remove the crash pad side cover [RH] (A) by using a remover.
|
| 2. |
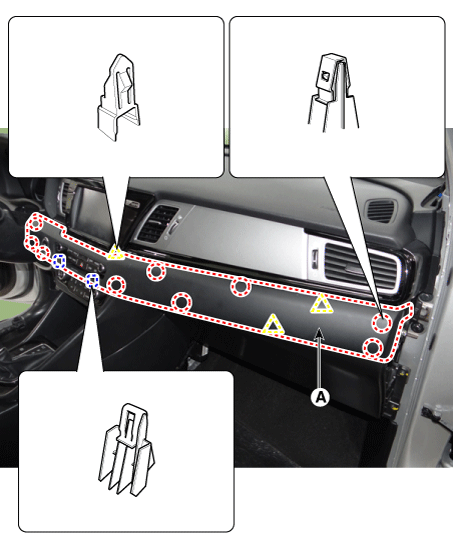
Remove the crash pad plate [RH] (A) by using a remover.
|
| 3. |
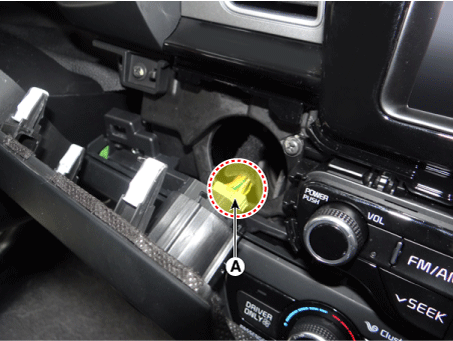
Disconnect the start/stop button connector (A).
|
| 4. |
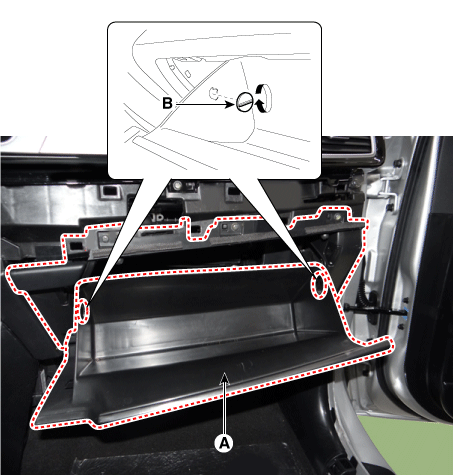
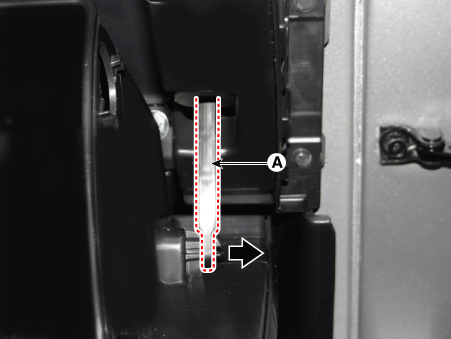
Disconnect the stopper (B) from the glove box (A).
|
| 5. |
Disconnect the air damper (A) from the glove box.
|
| 6. |
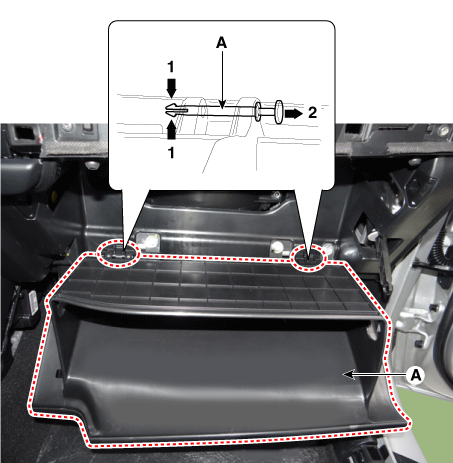
Disconnect the pins (A) and then remove the glove box (B).
|
| 7. |
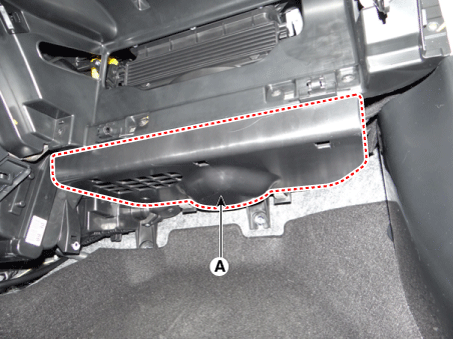
Remove the crash pad under cover [RH] (A).
|
| 8. |
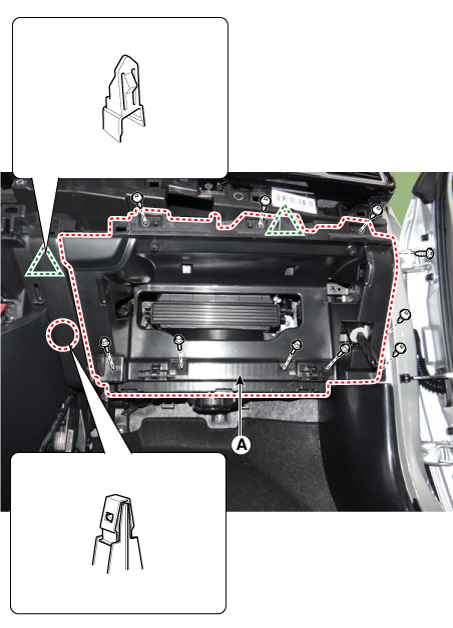
Remove the glove box housing (A) after loosening the mounting screws and bolts & nuts.
|
| 9. |
Install in the reverse order of removal.
|
 Glove Box Housing Components and components location
Component Location
1. Glove box housing complete
...
 Steering Column Shroud Panel Components and components location
Component Location
1. Steering column shroud upper panel
2. Steering column shroud lower panel
...
Other information:
Kia Niro 2017 (DE HEV) Service Manual: General information
Identifying a Kia Niro
"Eco Hybrid" logo on tail gate
The Kia Niro can be easily identified by the "Eco Hybrid" logo attached on the
tail gate.
Electrocution Risk
The hybrid logo can becom ...
Kia Niro (DE HEV) Owners Manual: Operation Tips
To keep dust or unpleasant fumes from entering the vehicle through the ventilation
system, temporarily set the air intake control to the recirculated air position.
Be sure to return the control to the fresh air position when the irritation
has passed to keep fresh air in the vehicle. Thi ...


