Kia Niro: Cooling System / Active Air Flap (AAF) Repair procedures
| Removal and Installation |
| 1. |
Remove the air duct. (Refer to Intake and Exhaust System - "Air Cleaner") |
| 2. |
Remove the front bumper cover. (Refer to Body (Interior and Exterior) - "Front Bumper Cover") |
| 3. |
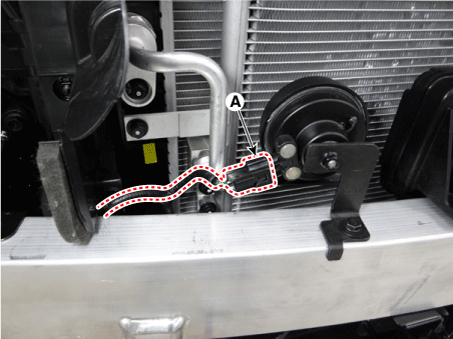
Disconnect the high pitch horn connector (A).
|
| 4. |
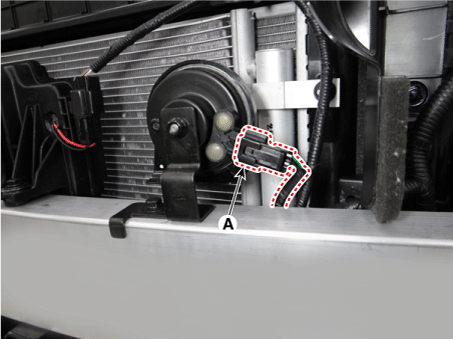
Disconnect the low pitch horn connector (A).
|
| 5. |
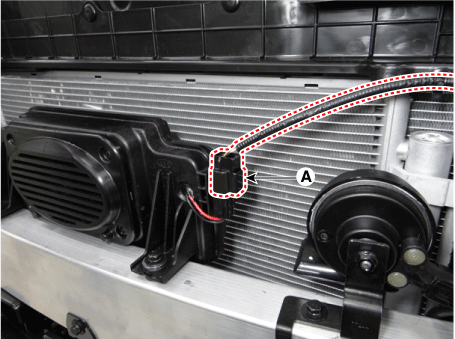
Disconnect the virtual engine sound speaker (VESS) speaker connector (A).
|
| 6. |
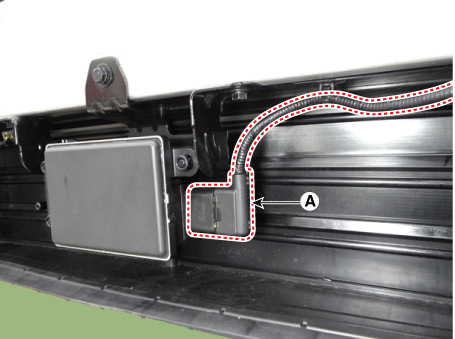
Disconnect the advents smart cruise control (ASCC) connector (A)
|
| 7. |
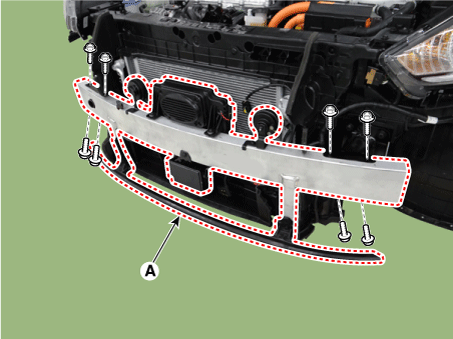
Remove the front bumper beam (A).
|
| 8. |
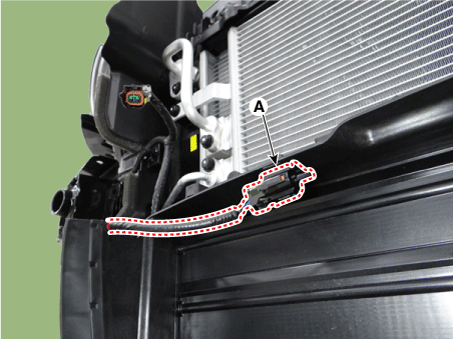
Remove the ambient temperature sensor (A)
|
| 9. |
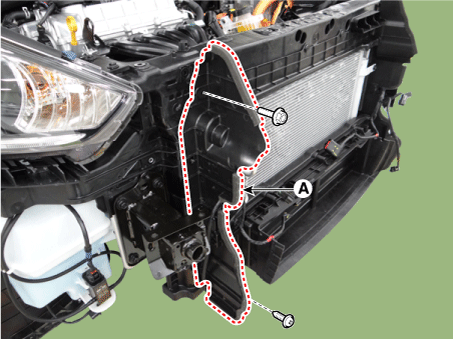
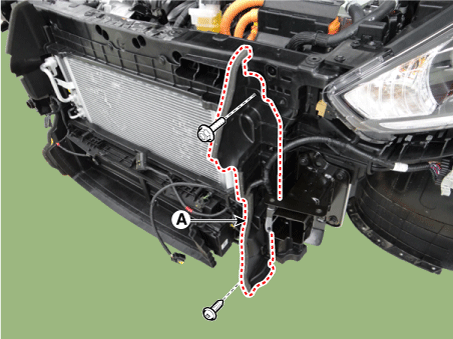
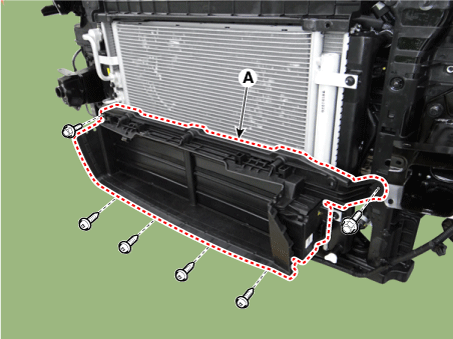
Remove the air guard (A).
[RH]
[LH]
|
| 10. |
Disconnect the active air flap (AAF) connector (A).
|
| 11. |
Remove the active air flap (AAF) (A).
|
| 12. |
Install in the reverse order of removal. |
| Disassembly |
| 1. |
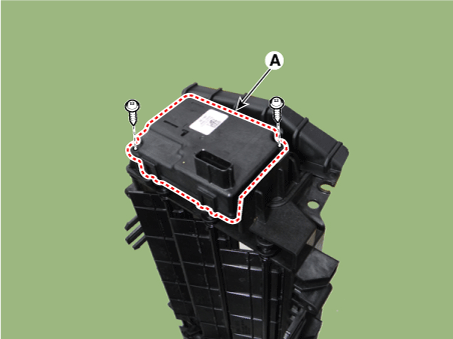
Remove the active air flap (AAF) actuator (A).
|
| 2. |
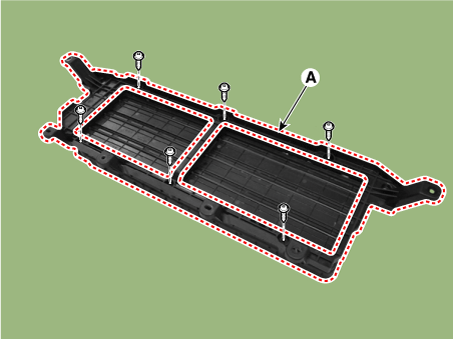
Remove the active air flap (AAF) duct (A).
|
| 3. |
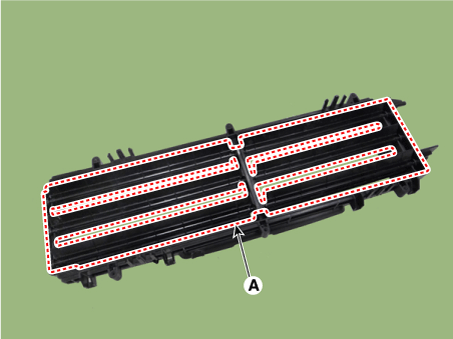
Remove the air flap (A).
|
| 4. |
Assemble in the reverse order of disassembly. |
 Active Air Flap (AAF) Schematic diagrams
Schematic Diagram
...
 Active Air Flap (AAF) Troubleshooting
Troubleshooting
Symptoms
Possible Causes
Remedy
Warning illuminated
"Check active air flap system"
Active ...
Other information:
Kia Niro (DE HEV) Owners Manual: Headlamp bulb
WARNING - Halogen bulbs
Halogen bulbs contain pressurized gas that will produce flying pieces
of glass if broken.
Always handle them carefully, and avoid scratches and abrasions. If the
bulbs are lit, avoid contact with liquids. Never touch the glass with bare hands.
Residual oil ma ...
Kia Niro 2017 (DE HEV) Service Manual: Battery Temperature Sensor Specifications
Specification
[Air Inlet]
Temperature
Resistance (kΩ)
°C
°F
-50
-58
314.9 - 344.6
-40
-40
181.1 - 196.0
-30
-22 ...

