Kia Niro: Intake And Exhaust System / Muffler Repair procedures
| Removal and Installation |
Front Muffler
| 1. |
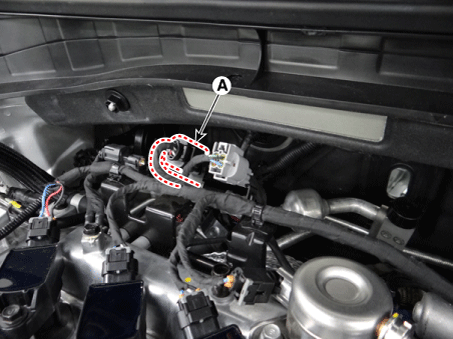
Disconnect the heated oxygen sensor connector (A) and then remove it from the bracket.
|
| 2. |
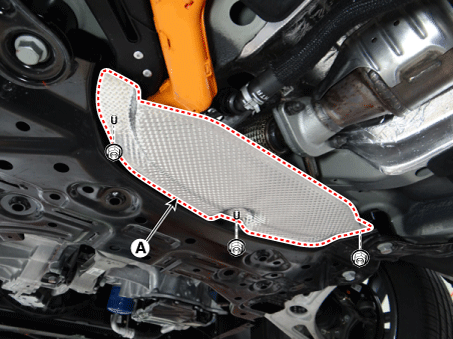
Remove the under cover (A).
|
| 3. |
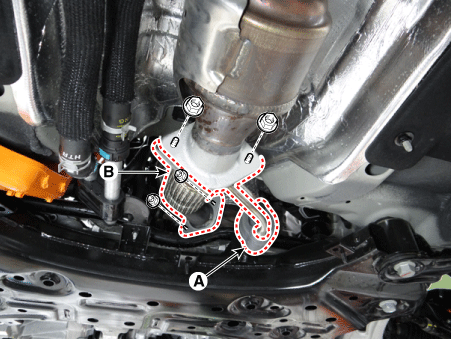
Detach the rubber hanger (A) from the front muffler. |
| 4. |
Remove the front muffler (B).
|
| 5. |
Install in the revere order of removal. |
Center Muffler
| 1. |
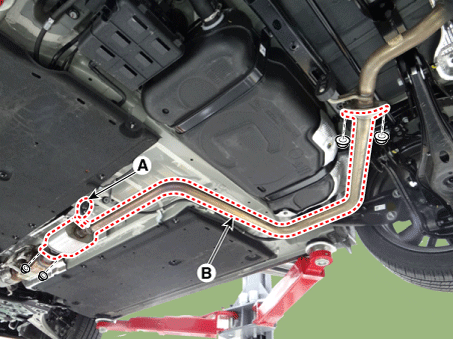
Detach the rubber hanger (A) from center muffler. |
| 2. |
Remove the center muffler (B).
|
| 3. |
Install in the reverse order of removal. |
Rear Muffler
| 1. |
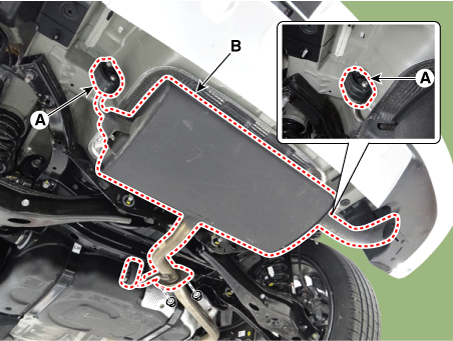
Detach the rubber hanger (A) from rear muffler. |
| 2. |
Remove the rear muffler (B).
|
| 3. |
Install in the reverse order of removal. |
 Muffler Components and components location
Components
1. Front muffler
2. Exhaust heat recovery system (EHRS)
3. Center muffler
4. Rear muffler
5. Gasket
6. Rubber hanger
...
Other information:
Kia Niro 2017 (DE HEV) Service Manual: Power Door Mirror Switch Schematic diagrams
Circuit Diagram
Driver Power Window Switch (Non-IMS
Type)
[Auto Folding Mirror
Switch]
[Non-Folding Mirror
Switch]
Driver Power Window Module (IMS Type)
...
Kia Niro (DE HEV) Owners Manual: Vanity mirror lamp bulb replacement
WARNING
Prior to working on the Interior lamps, ensure that the “OFF” button is depressed
to avoid burning your fingers or receiving an electric shock.
1. Using a flat-blade screwdriver, gently pry the lamp assembly from interior.
2. Remove the bulb by pulling it straight out.
3. Install ...

