Kia Niro: Indicators And Gauges / Instrument Cluster Repair procedures
| Removal |
|

Instrument Cluster
| 1. |
Disconnect the negative (-) battery terminal. |
| 2. |
Remove the cluster fascia panel. (Refer to Body - "Cluster Fascia Panel") |
| 3. |
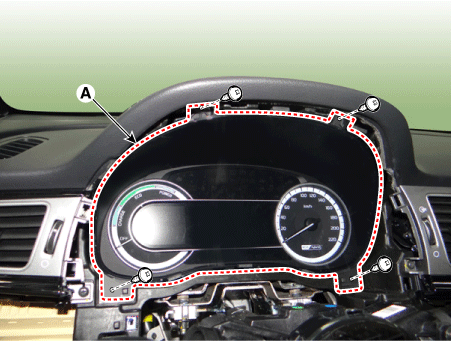
Separate the instrument cluster (A) after loosening the mounting screws.
|
| 4. |
Remover the instrument cluster after disconnecting the cluster connector (A).
|
Instrument Cluster Speaker
| 1. |
Disconnect the negative (-) battery terminal. |
| 2. |
Remove the crash pad center lower panel. (Refer to Body - "Crash Pad Center Panel") |
| 3. |
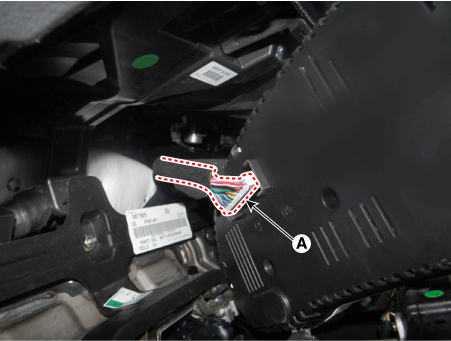
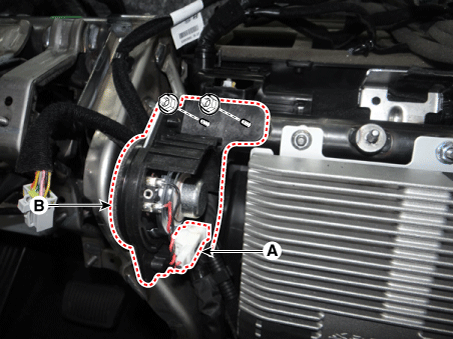
Disconnect the instrument cluster speaker connector (A). |
| 4. |
Remove the instrument cluster speaker (B) after loosening the mounting nuts.
|
| Installation |
Instrument Cluster
| 1. |
Install the cluster after connect the cluster connectors. |
| 2. |
Install the cluster fascia panel. |
| 3. |
Connect the negative (-) battery terminal.
|

Instrument Cluster Speaker
| 1. |
Install the cluster speaker after connect the cluster connectors. |
| 2. |
Install the crash pad center lower panel. |
| 3. |
Connect the negative (-) battery terminal. |
| Inspection |
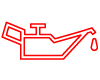
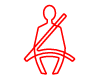
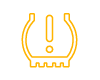
| 1. |
Check point (Warning indicator)
|


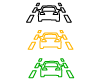


| 2. |
Check point (Gauge)
|
Diagnosis with KDS/GDS
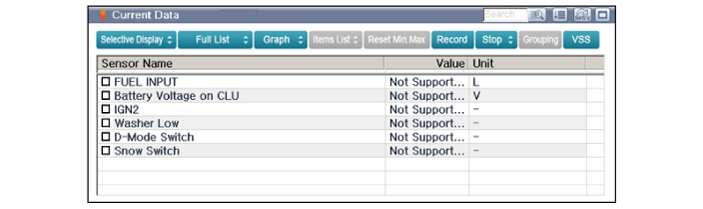
| 1. |
In the body electrical system, failure can be quickly diagnosed by using the vehicle diagnostic system (KDS/GDS). The diagnostic system (KDS/GDS) provides the following information.
|
| 2. |
Select the 'Car model' and the 'Cluster Module (CLU)' to be checked in order to check the vehicle with the tester |
| 3. |
Select the 'Current Data' menu to search the current state of the input/output data.
|
| 4. |
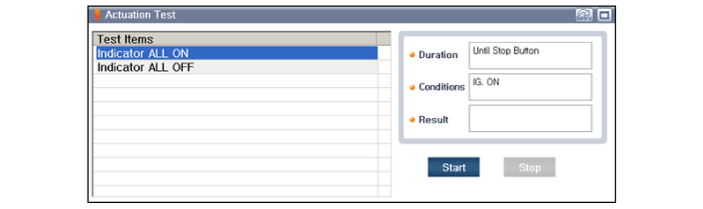
To forcibly actuate the input value of the module to be checked, select option 'Actuation Test'
|
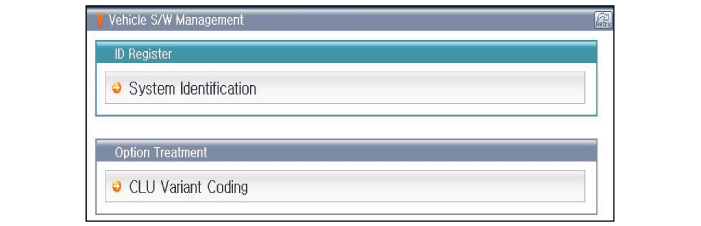
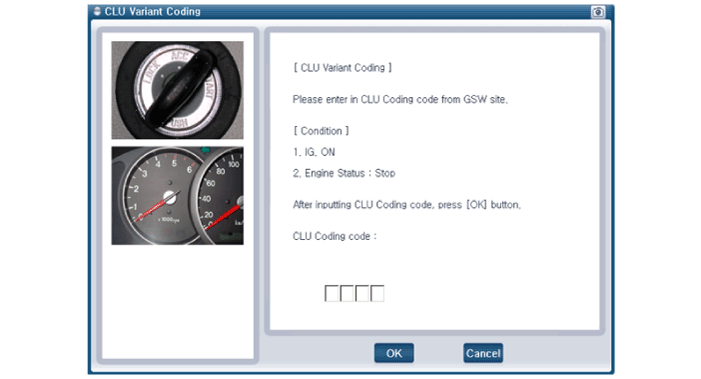
CLU Variant Coding
After replacing the cluster with a new one, must be performed the “Variant Coding” procedure.
| 1. |
Connect the cable of KDS/GDS to the data link connector in driver side crash pad lower panel, turn the power on KDS/GDS. |
| 2. |
Select model and "BCM". |
| 3. |
Select Variant coding mode to perform.
|

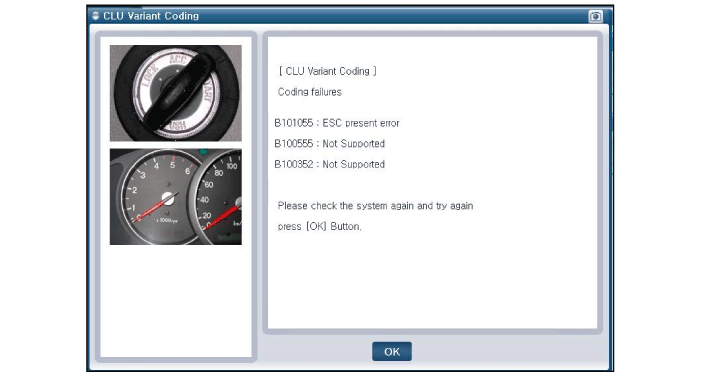
| 4. |
If the trouble codes occurred when performing variant coding, try the CLU variant coding again after checking the installation status of CLU system.
|
 Instrument Cluster Description and operation
Description
Communication Network
Diagram
Abbreviation
Expalnation
AAF
Active Air Flap
ACU
Airb ...

Other information:
Kia Niro (DE HEV) Owners Manual: Phone
✽ NOTICE - Using Bluetooth® (BT) Phone
Bluetooth® is a near-field wireless networking technology that uses the
2.4 GHz frequency to connect various devices within a certain distance wirelessly.
The technology is used in PCs, peripherals, Bluetooth® phones, tablet
PCs, household appl ...
Kia Niro 2017 (DE HEV) Service Manual: Stop Lamp Switch Repair procedures
Removal
1.
Turn ignition switch OFF and disconnect the negative (-) battery terminal.
2.
Remove the crash pad lower panel.
(Refer to Body - "Crash Pad")
3.
Remove the knee air bag.
(Refer to Restrain ...
