Kia Niro: Hood / Hood Latch Repair procedures
| Replacement |
| 1. |
Remove the front bumper cover. (Refer to Front Bumper - "Front Bumper Cover") |
| 2. |
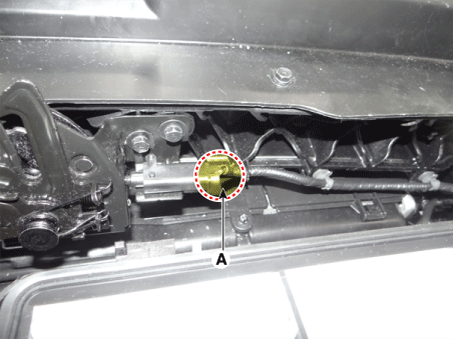
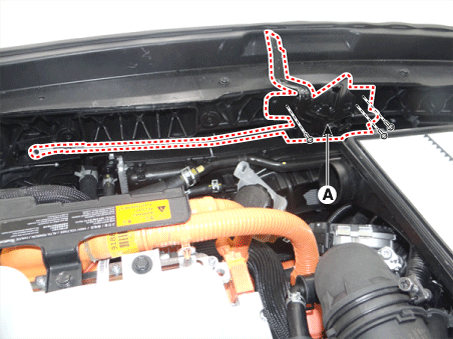
Disconnect the hood lower latch connector (A).
|
| 3. |
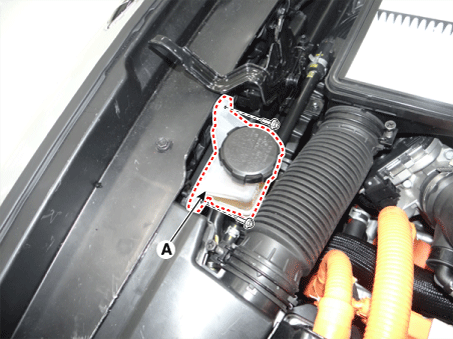
Remove the engine clutch reservoir (A) after loosening the bolts.
|
| 4. |
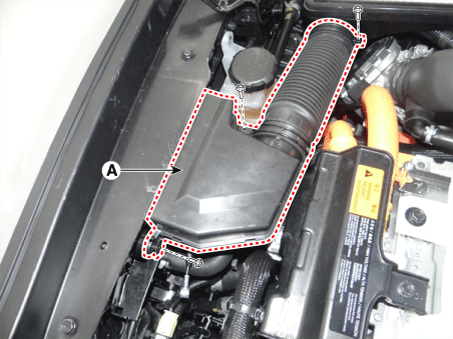
Remove the air duct (A).
|
| 5. |
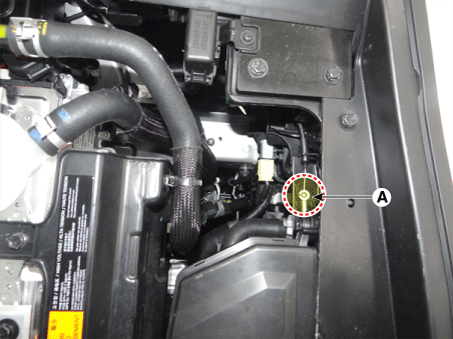
Disconnect the hood latch connector (A).
|
| 6. |
Remove the hood lower latch assembly (A) after loosening the bolts.
|
| 7. |
Install in the reverse order of removal.
|
 Hood Latch Components and components location
Component Location
1. Hood lower latch assembly
...
 Interior Trim
...
Other information:
Kia Niro 2017 (DE HEV) Service Manual: Electric EGR Control Valve Description and operation
Description
The Electric EGR Control Valve is a solenoid valve installed between the EGR
cooler and the exhaust line that controls the EGR (Exhaust Gas Recirculation) amount
by the ECM's duty control signal depending on engine load and the intake air demand.
The Exhaust Gas R ...
Kia Niro 2017 (DE HEV) Service Manual: Components and components location
Component Location
1. Sunroof
2. Sunroof switch
3. Sunroof motor & controller
...

