Kia Niro: Crash Pad / Glove Box Housing Repair procedures
| Replacement |
Put on gloves to protect your hands. |

|

| 1. |
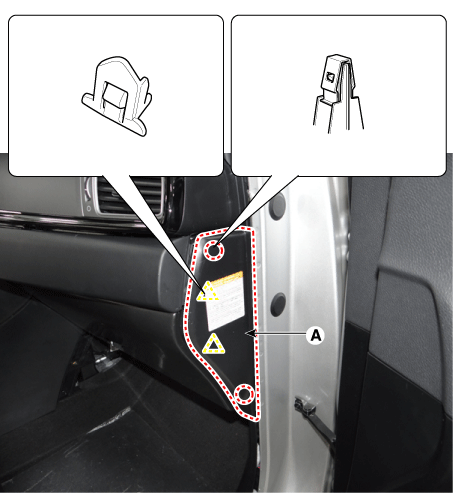
Remove the crash pad side cover [RH] (A) by using a remover.
|
| 2. |
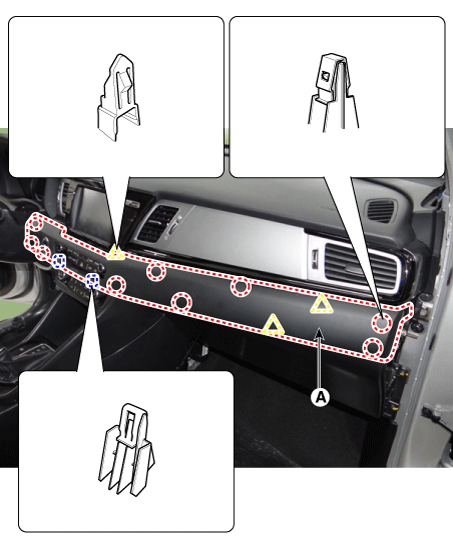
Remove the crash pad plate [RH] (A) by using a remover.
|
| 3. |
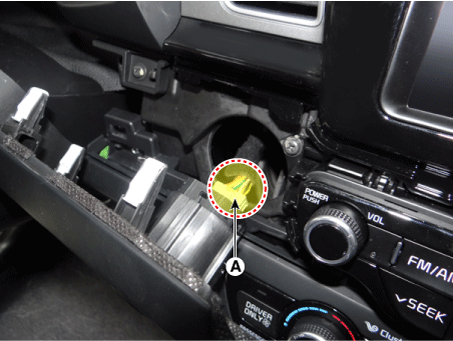
Disconnect the start/stop button connector (A).
|
| 4. |
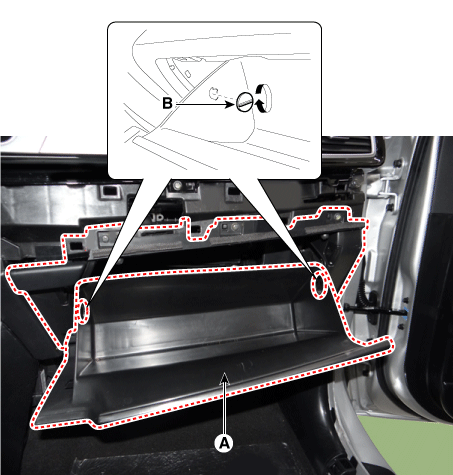
Disconnect the stopper (B) from the glove box (A).
|
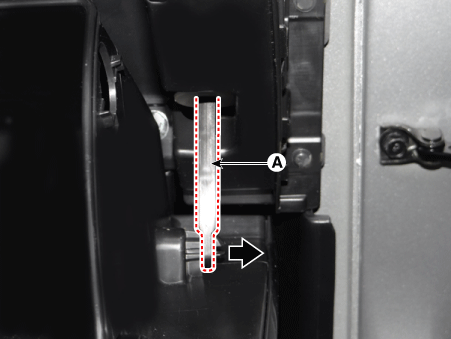
| 5. |
Disconnect the air damper (A) from the glove box.
|
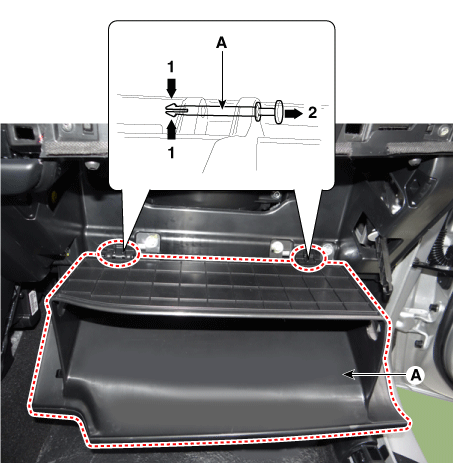
| 6. |
Disconnect the pins (A) and then remove the glove box (B).
|
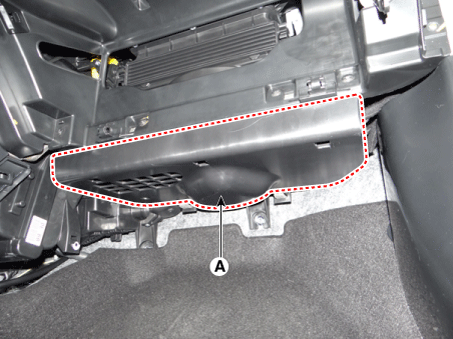
| 7. |
Remove the crash pad under cover [RH] (A).
|
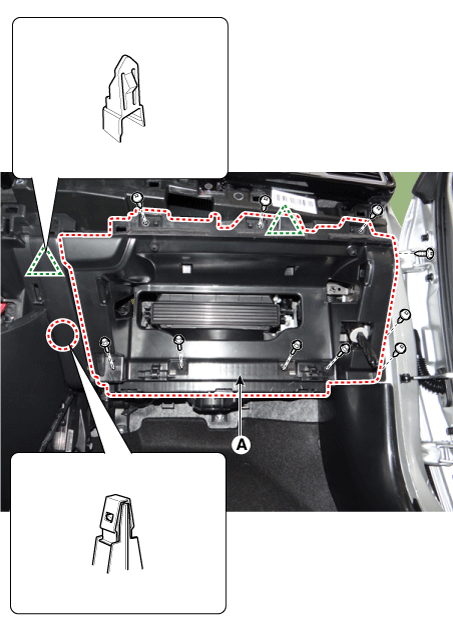
| 8. |
Remove the glove box housing (A) after loosening the mounting screws and bolts & nuts.
|
| 9. |
Install in the reverse order of removal.
|
 Glove Box Housing Components and components location
Component Location
1. Glove box housing complete
...
 Steering Column Shroud Panel Components and components location
Component Location
1. Steering column shroud upper panel
2. Steering column shroud lower panel
...
Other information:
Kia Niro 2017 (DE HEV) Service Manual: Safety Plug Description and operation
Description
Safety Plug is installed on the rear side of the high voltage battery and it
can mechanically shut the high voltage circuit off when servicing the high voltage
system (i.e. High Voltage Battery, Power Relay Assembly, HPCU, BMS ECU, Hybrid Drive
Motor, Inverter, HSG, LD ...
Kia Niro 2017 (DE HEV) Service Manual: ETC (Electronic Throttle Control) System Description and operation
Description
The Electronic Throttle Control (ETC) System consists of a throttle body with
an integrated control motor and throttle position sensor (TPS). Unlike the existing
mechanical throttle system that controls the throttle valve by using wire cable
connected to the accelerato ...
