Kia Niro: Front Suspension System / Front Lower Arm Repair procedures
| Removal |
| 1. |
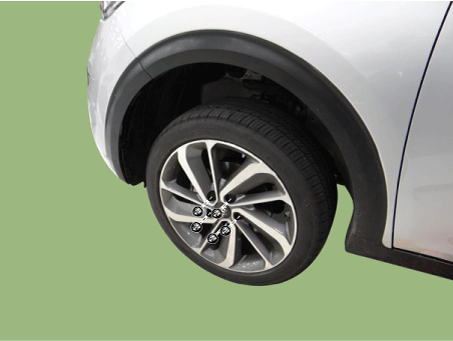
Remove the wheel and tire.
|
| 2. |
Remove the under cover. (Refer to Engine Mechanical System - "Engine Room Under Cover") |
| 3. |
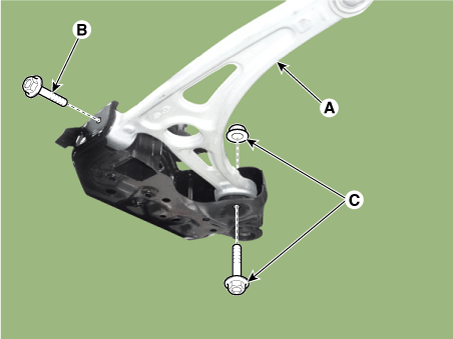
Remove the lower arm pin (A) and nut (B).
|
| 4. |
Remove the lower arm (A) from the sub frame.
|
| 5. |
Install in the reverse order of removal. |
| 6. |
Check the wheel alignment. (Refer to Tires/Wheels - "Alignment") |
| Inspection |
| 1. |
Check the bushing for wear and deterioration. |
| 2. |
Check the lower arm for bending or breakage. |
| 3. |
Check the lower arm for deformation. |
| 4. |
Check all bolts and nuts. |
 Front Lower Arm Components and components location
Components
1. Ball joint assembly
2. Front lower arm assembly
...
 Front Stabilizer Bar Components and components location
Components
1. Stabilizer bar
2. Stabilizer link
...
Other information:
Kia Niro 2017 (DE HEV) Service Manual: Components and components location
Components Location
1. High Voltage Battery System Assembly
2. High Voltage Battery Pack Assembly
3. Power Relay Assembly (PRA)
4. High Voltage Front Cover
5. High Voltage Rear Cover
1. High Voltage Battery System Assemb ...
Kia Niro (DE HEV) Owners Manual: Warning message
The message (“Blind Spot Detection disabled temporarily”) will appear to notify
the driver if there are foreign substances on the rear bumper or it is hot near
the rear bumper. The light on the switch and the system will be turned off automatically.
Remove the foreign substance on the rear ...


