Kia Niro: Cooling System / Active Air Flap (AAF) Repair procedures
| Removal and Installation |
| 1. |
Remove the air duct. (Refer to Intake and Exhaust System - "Air Cleaner") |
| 2. |
Remove the front bumper cover. (Refer to Body (Interior and Exterior) - "Front Bumper Cover") |
| 3. |
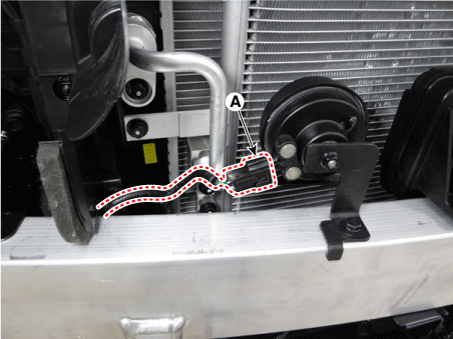
Disconnect the high pitch horn connector (A).
|
| 4. |
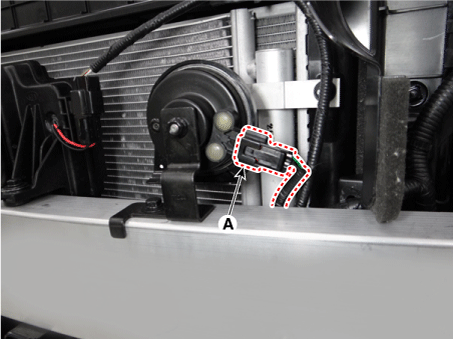
Disconnect the low pitch horn connector (A).
|
| 5. |
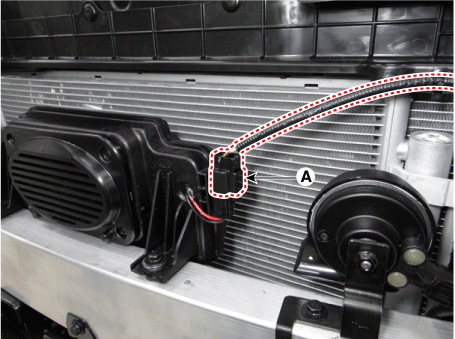
Disconnect the virtual engine sound speaker (VESS) speaker connector (A).
|
| 6. |
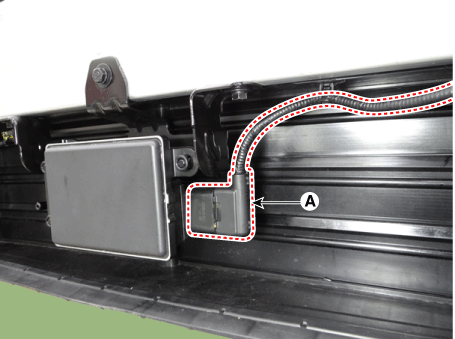
Disconnect the advents smart cruise control (ASCC) connector (A)
|
| 7. |
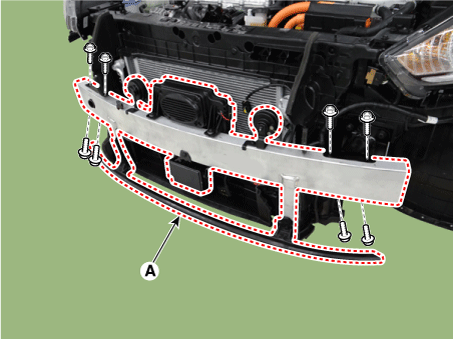
Remove the front bumper beam (A).
|
| 8. |
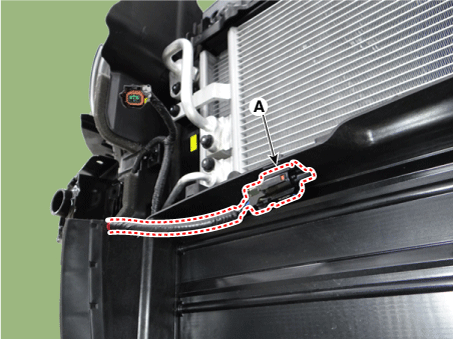
Remove the ambient temperature sensor (A)
|
| 9. |
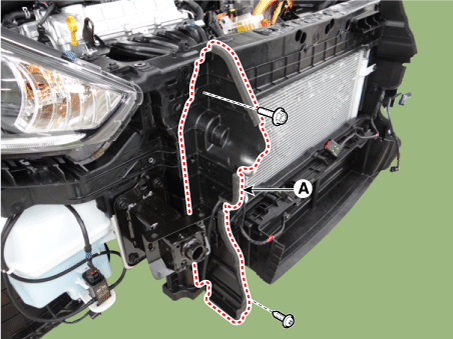
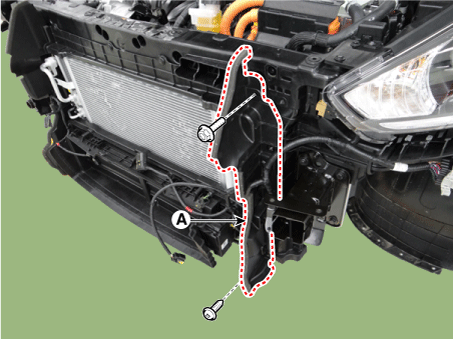
Remove the air guard (A).
[RH]
[LH]
|
| 10. |
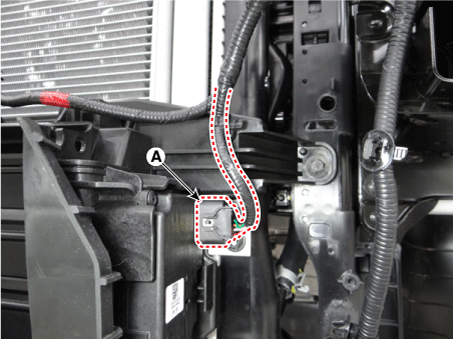
Disconnect the active air flap (AAF) connector (A).
|
| 11. |
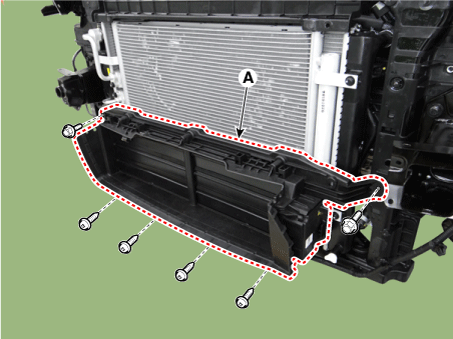
Remove the active air flap (AAF) (A).
|
| 12. |
Install in the reverse order of removal. |
| Disassembly |
| 1. |
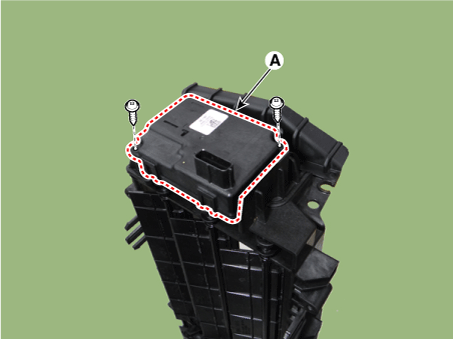
Remove the active air flap (AAF) actuator (A).
|
| 2. |
Remove the active air flap (AAF) duct (A).
|
| 3. |
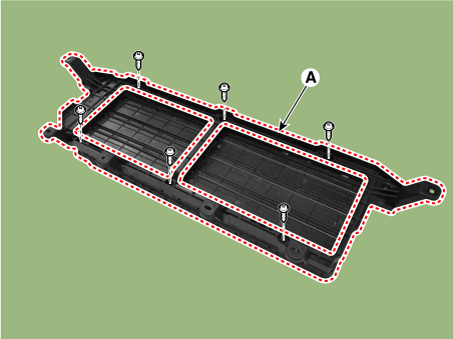
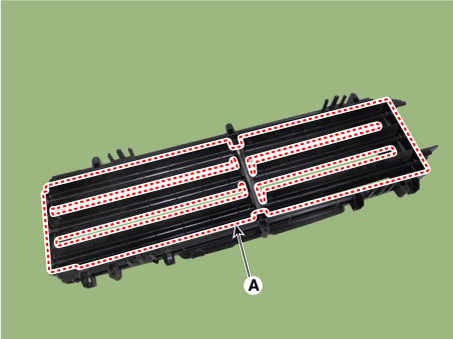
Remove the air flap (A).
|
| 4. |
Assemble in the reverse order of disassembly. |
 Active Air Flap (AAF) Schematic diagrams
Schematic Diagram
...
 Active Air Flap (AAF) Troubleshooting
Troubleshooting
Symptoms
Possible Causes
Remedy
Warning illuminated
"Check active air flap system"
Active ...
Other information:
Kia Niro 2017 (DE HEV) Service Manual: Rear Wheel Speed Sensor Components and components location
Components
1. Rear wheel speed sensor
...
Kia Niro (DE HEV) Owners Manual: To convert to cruise control mode
“Smart Cruise Control or Cruise Control”
The driver may choose to only use the cruise control mode (speed control function)
by doing as follows:
1. Turn the smart cruise control system on (the cruise indicator light will be
on but the system will not be activated).
2. Push the distance to ...

