Kia Niro: Fuel Delivery System / Fuel Line Repair procedures
| Removal |
Low Pressure Fuel Line [High Pressure Fuel Pump ↔ Fuel Tank]
| 1. |
Release the residual pressure in fuel line. (Refer to the Fuel Delivery System - "Release Residual Pressure in Fuel Line") |
| 2. |
TSwitch "OFF" the ignition and disconnect the negative (-) battery terminal. |
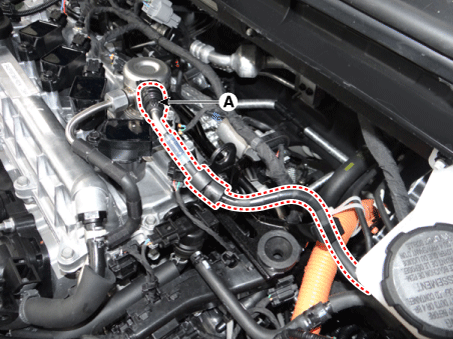
| 3. |
Disconnect the low pressrue fuel line quick-connector (A) from the high pressure fuel pump.
|


| 4. |
Disconnect the vapor hose (A) from the PCSV.
|
| 5. |
Lift the vehicle. |
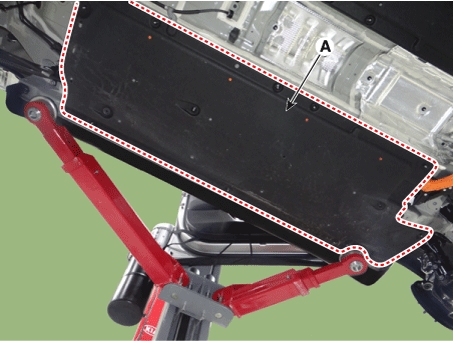
| 6. |
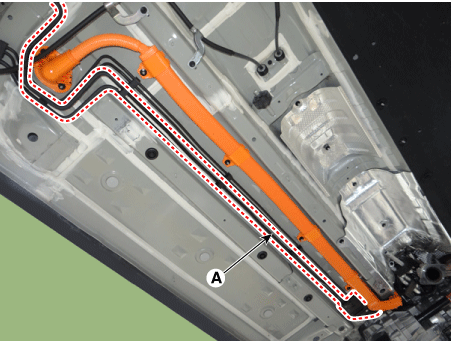
Remove the under cover [LH] (A) after loosening the mounting bolt and nuts.
|
| 7. |
Remove the fuel tank. (Refer to to Fuel Delivery System - "Fuel Tank") |
| 8. |
Remove the front sub frame. (Refer to Suspension System - "Sub Frame") |
| 9. |
Remove the fuel line (A) after loosening the mounting bolts and bracket.
|
High Pressure Fuel Line [High Pressure Fuel Pump ↔ Delivery Pipe]
| 1. |
Release the residual pressure in fuel line. (Refer to the Fuel Delivery System - "Release Residual Pressure in Fuel Line") |
| 2. |
Switch "OFF" the ignition and disconnect the negative (-) terminal of the auxiliary 12V battery. |
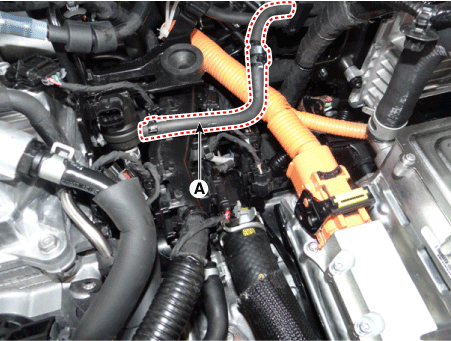
| 3. |
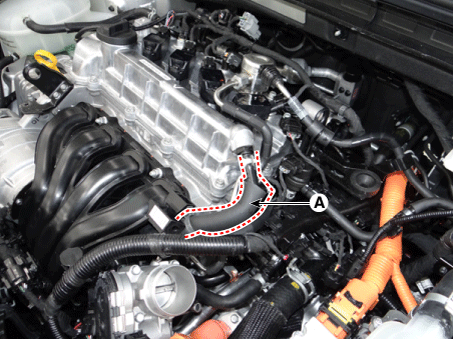
Disconnect the PCV hose (A).
|
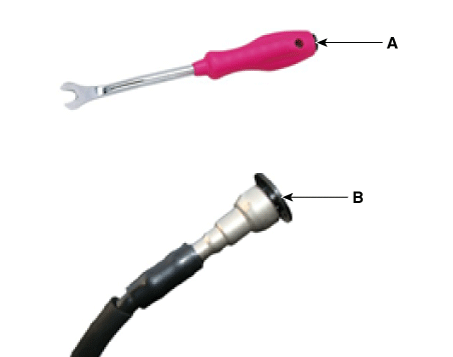
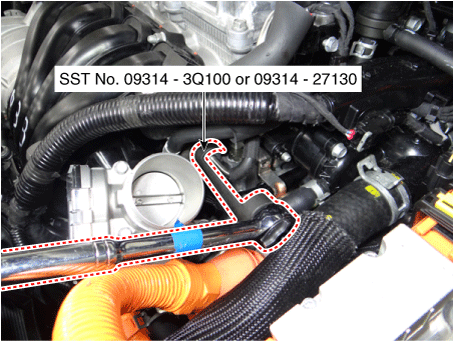
| 4. |
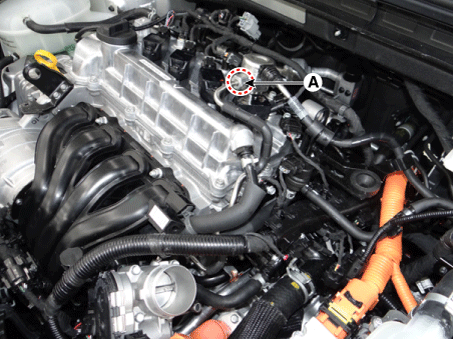
Remove the high pressure pipe flange nut (A) by using the special service tool (B) [SST No. 09314 - 3Q100 or 09314 - 27130].
|
| 5. |
Remove the high pressure pipe flange nut (A) by using the special service tool (B) [SST No. 09314 - 3Q100 or 09314 - 27130].
|
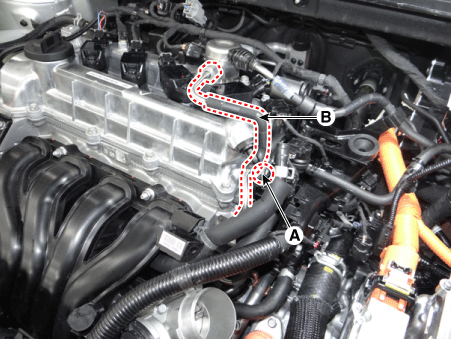
| 6. |
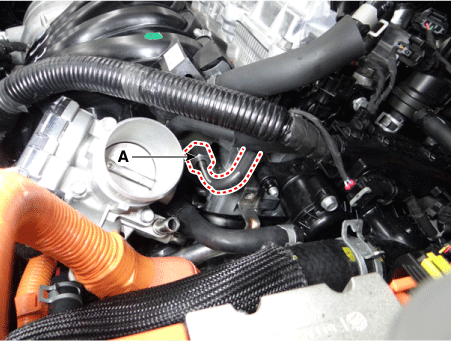
Remove the high pressure fuel pipe function block mounting bolt (A). |
| 7. |
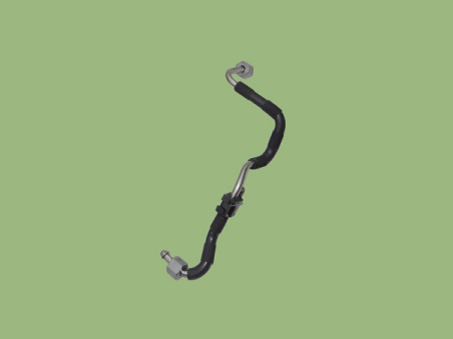
Remove the high pressure fuel pipe (B).
|
| Installation |
|
| 1. |
Install in the reverse order of removal. |
 Fuel Pressure Regulator Repair procedures
Removal
1.
Remove the fuel pump.
(Refer to Fuel Delivery System - "Fuel Pump")
2.
Disconnect the fuel pump motor connector (A) and f ...
 Filler-Neck Assembly Repair procedures
Removal
1.
Open the fuel filler door.
2.
Switch "OFF" the ignition and disconnect the negative (-) terminal of
the auxiliary 12V bat ...
Other information:
Kia Niro (DE HEV) Owners Manual: Turn signals and lane change signals
The ignition switch must be on for the turn signals to function. To turn on the
turn signals, move the lever up or down (A). The green arrow indicators on the instrument
panel indicate which turn signal is operating.
They will self-cancel after a turn is completed. If the indicator continues ...
Kia Niro 2017 (DE HEV) Service Manual: Engine And Transaxle Assembly Repair procedures
Removal
•
Be sure to read and follow the “General Safety Information and
Caution” before doing any work related with the high voltage system.
Failure to follow the safety instr ...
