Kia Niro: Floor Console / Floor Console Assembly Repair procedures
| Replacement |
Put on gloves to protect your hands. |
|
| 1. |
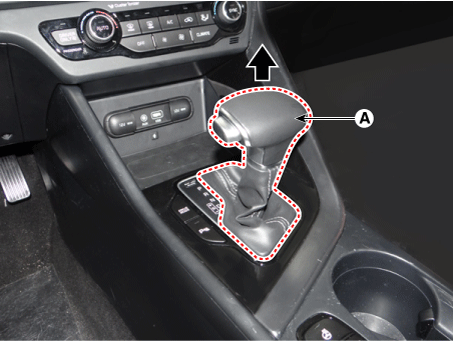
Pull out and remove the gear knob and gear boots (A).
|
| 2. |
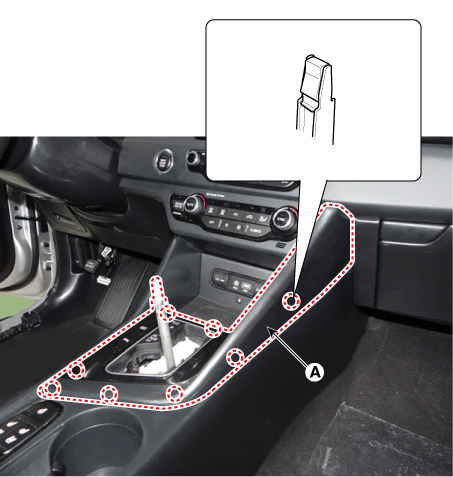
Separate the floor console upper cover (A) by using a remover.
|
| 3. |
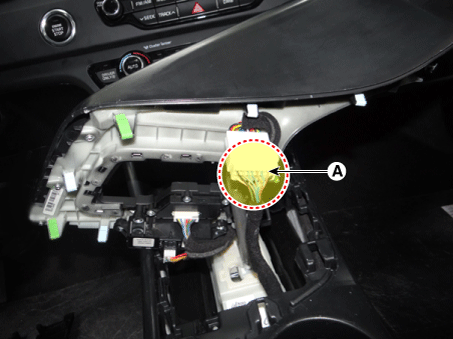
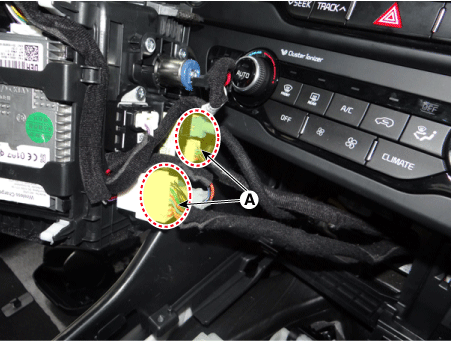
Remove the floor console upper cover after disconnecting the connectors (A).
|
| 4. |
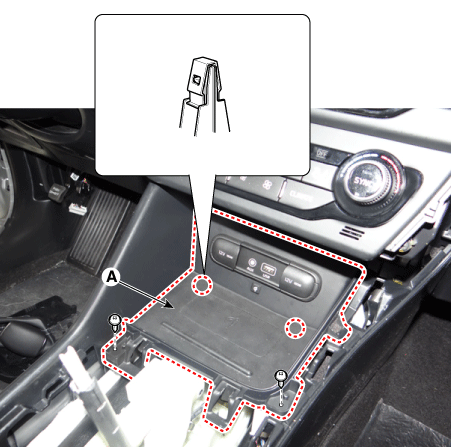
Separate the floor console tray assembly (A).
|
| 5. |
Remove the floor console tray after disconnecting the connectors (A).
|
| 6. |
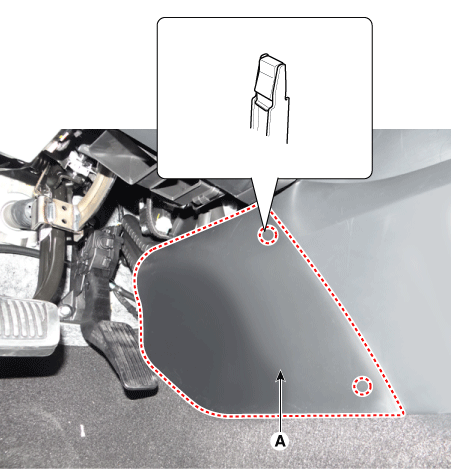
Remove the side console side covers (A) on both sides by pushing them rearward.
|
| 7. |
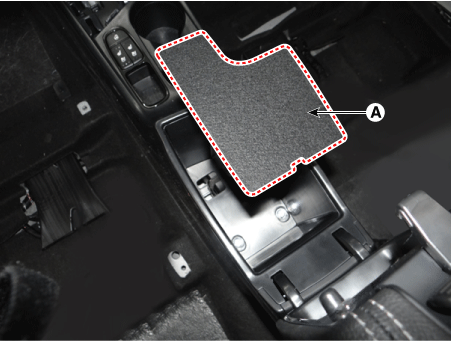
Remove the console armrest mat (A).
|
| 8. |
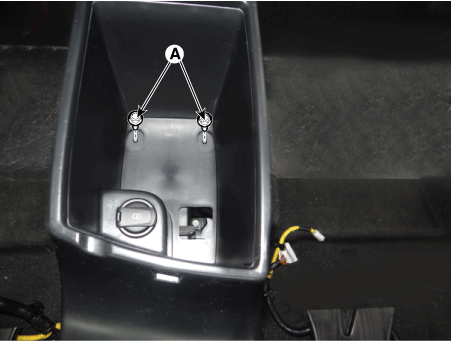
Loosen the console upper mounting bolts (A).
|
| 9. |
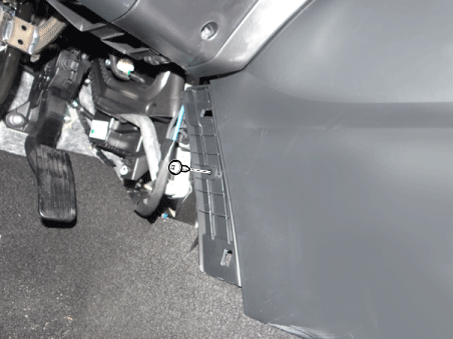
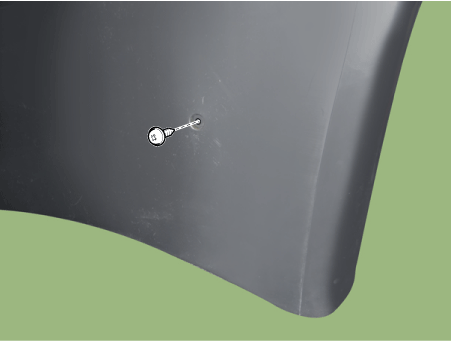
Separate the console assembly after loosening the screws. [Front]
[Rear]
|
| 10. |
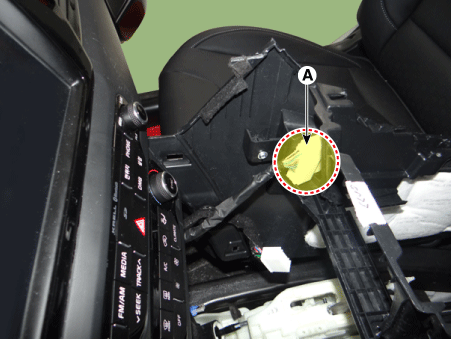
Disconnect the console wiring connector (A).
|
| 11. |
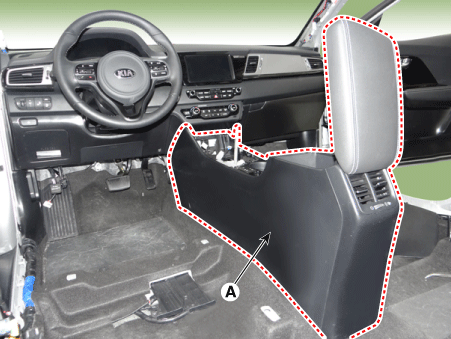
Remove the console complete (A).
|
| 12. |
Install in the reverse order of removal.
|
 Floor Console Assembly Components and components location
Component Location
1. Floor console assembly
...
 Rear Console Cover Components and components location
Component Location
1. Rear console cover
...
Other information:
Kia Niro 2017 (DE HEV) Service Manual: Side Impact Sensor (SIS) Description and operation
Description
•
Side Impact Sensor (SIS) system consists of two Pressure Side Impact
Sensor (P-SIS) which are installed at each center of the front door module
(LH and RH) and two SIS which are installed at each center pillar nearby
(LH and RH) and two rear SI ...
Kia Niro 2017 (DE HEV) Service Manual: Front Bumper Cover Components and components location
Component Location
1. Front bumper cover
...


