Kia Niro: Crash Pad / Crash Pad Garnish [RH] Repair procedures
| Replacement |
Put on gloves to protect your hands. |

|

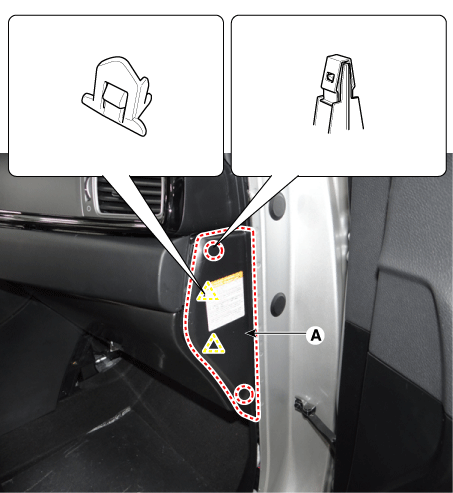
| 1. |
Remove the crash pad side cover [RH] (A) by using a remover.
|
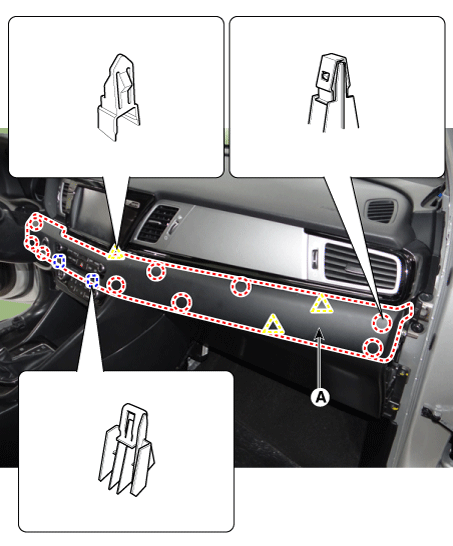
| 2. |
Remove the crash pad plate [RH] (A) by using a remover.
|
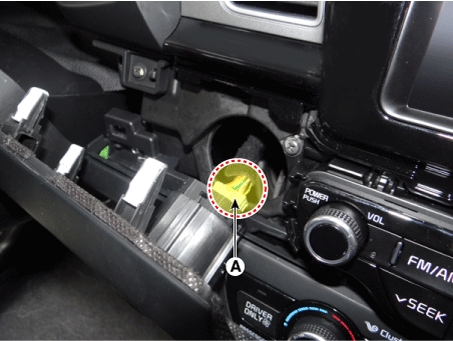
| 3. |
Disconnect the start/stop button connector (A).
|
| 4. |
Install in the reverse order of removal.
|
 Crash Pad Garnish [RH] Components and components location
Component Location
1. Crash pad plate assembly [RH]
...
 Crash Pad Lower Panel Components and components location
Component Location
1. Crash pad lower panel
...
Other information:
Kia Niro 2017 (DE HEV) Service Manual: Filler-Neck Assembly Repair procedures
Removal
1.
Open the fuel filler door.
2.
Switch "OFF" the ignition and disconnect the negative (-) terminal of
the auxiliary 12V battery.
3.
Remove the filler-neck assembly mounting bolt (A).
...
Kia Niro 2017 (DE HEV) Service Manual: Ignition Coil Schematic diagrams
Circuit Diagram
Ignition Coil Connector
Terminal Function
Connector View
Ignition Coil Terminal Function
Ignition Coil (Cylinder
#1)
Pin No.
Description
Connected to
1
...
