Kia Niro: Crash Pad / Cluster Fascia Panel Repair procedures
| Replacement |
Put on gloves to protect your hands. |
|
| 1. |
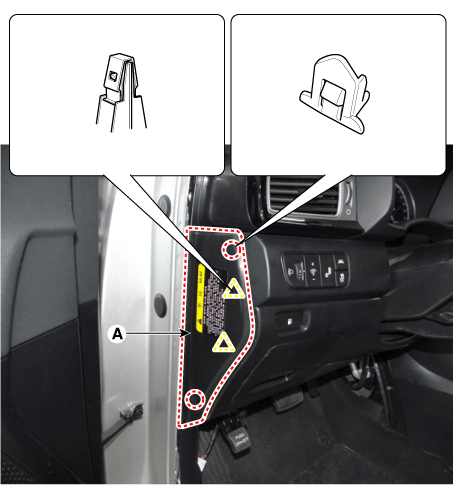
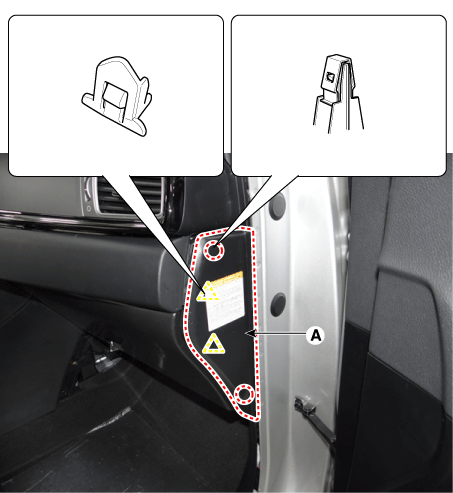
Remove the crash pad side cover [LH] (A) by using a remover.
|
| 2. |
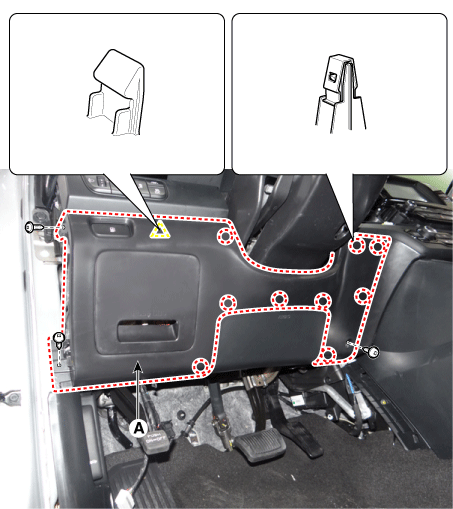
Remove the crash pad lower panel (A) after loosening the screw.
|
| 3. |
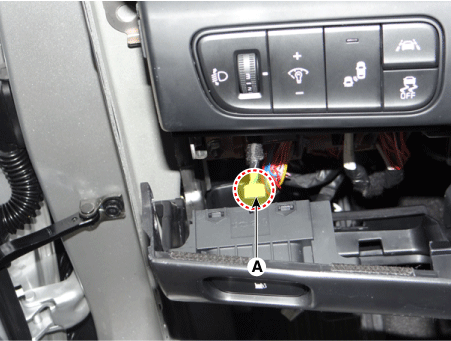
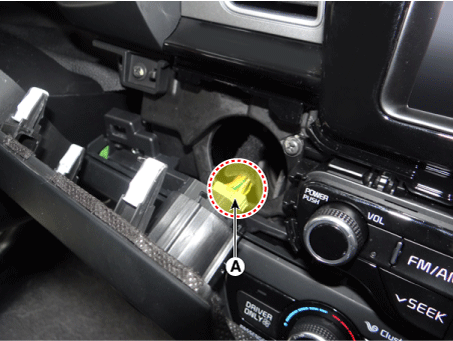
Disconnect the fuel filler door switch connector (A).
|
| 4. |
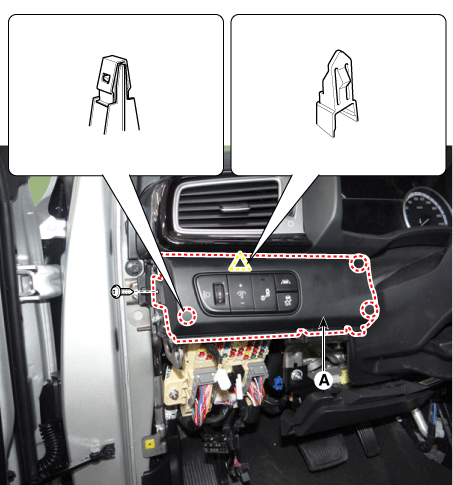
Remove the crash pad plate [LH] (A) after loosening the screw.
|
| 5. |
Disconnect the crash pad plate [LH] connector (A).
|
| 6. |
Remove the crash pad side cover [RH] (A) by using a remover.
|
| 7. |
Remove the crash pad garnish [LH] (A) by using a remover.
|
| 8. |
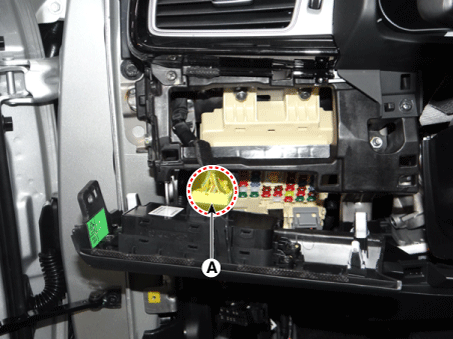
Disconnect the start/stop button connector (A).
|
| 9. |
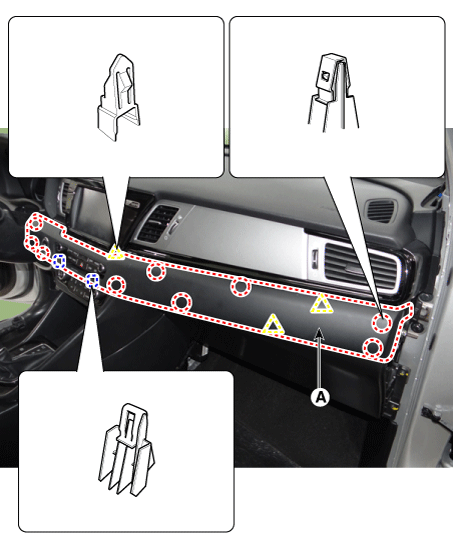
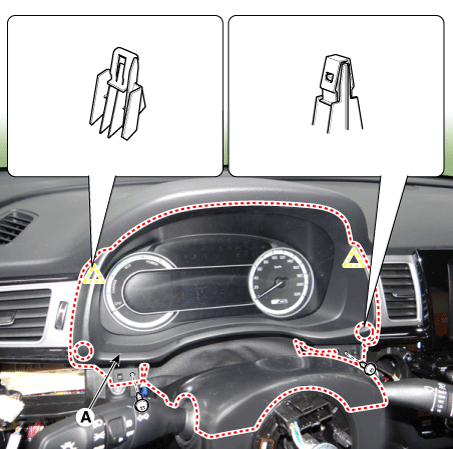
Remove the cluster fascia panel (A) by using a remover.
|
| 10. |
Install in the reverse order of removal.
|
 Cluster Fascia Panel Components and components location
Component Location
1. Cluster fascia panel assembly
...
 Center Fascia Panel Components and components location
Component Location
1. Center fascia panel assembly
2. Center fascia lower panel assembly
...
Other information:
Kia Niro 2017 (DE HEV) Service Manual: Curtain Airbag (CAB) Module Description and operation
Description
Curtain airbags are installed inside the headliner (LH and RH) and protect the
driver and passenger from danger when side crash occurs. The SRSCM determines deployment
of curtain airbag by using side impact sensor (SIS) signal.
...
Kia Niro 2017 (DE HEV) Service Manual: Description and operation
Description
The High Voltage Battery System provides the hybrid drive motor, HSG, and electric
A/C compressor with electric energy and also reserves the electric energy generated
during regeneration braking.It consists of the battery pack assembly, BMS ECU, power
relay assembly, c ...


