Kia Niro: Crash Pad / Center Fascia Panel Repair procedures
| Replacement |
Put on gloves to protect your hands. |

|

[Center fascia panel]
| 1. |
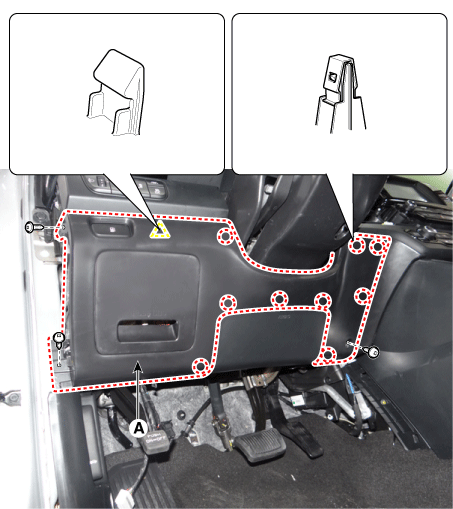
Remove the crash pad side cover [RH] (A) by using a remover.
|

| 2. |
Remove the crash pad plate [RH] (A) by using a remover.
|
| 3. |
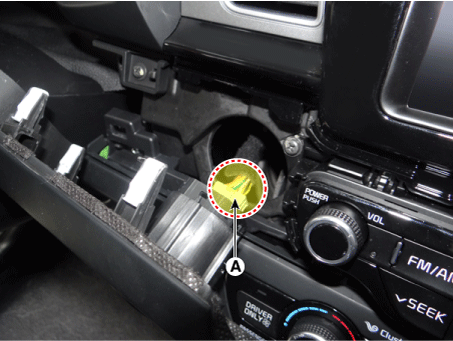
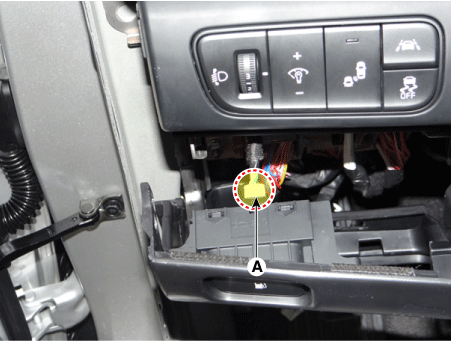
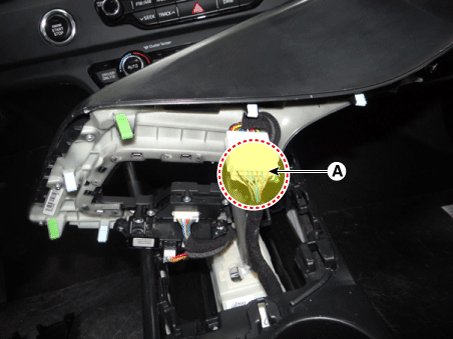
Disconnect the start/stop button connector (A).
|
| 4. |
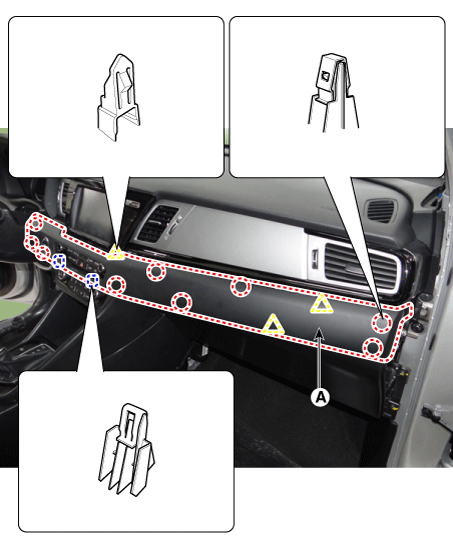
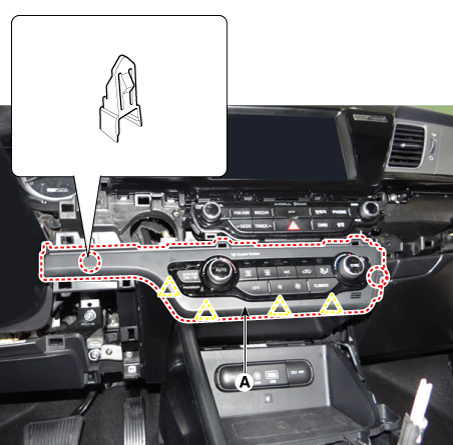
Remove the center fascia panel (A) by using a remover.
|
| 5. |
Install in the reverse order of removal.
|
[Center fascia lower panel]
| 1. |
Remove the crash pad side cover [LH] (A) by using a remover.
|
| 2. |
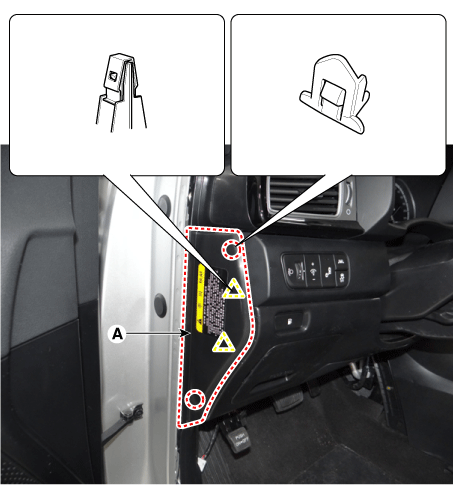
Remove the crash pad lower panel (A) after loosening the screw.
|
| 3. |
Disconnect the fuel filler door switch connector (A).
|
| 4. |
Remove the crash pad side cover [RH] (A) by using a remover.
|
| 5. |
Remove the crash pad garnish [LH] (A) by using a remover.
|
| 6. |
Disconnect the start/stop button connector (A).
|
| 7. |
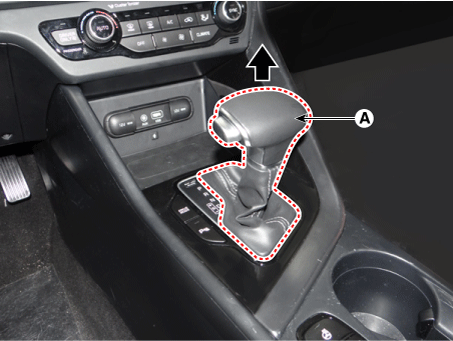
Pull out and remove the gear knob (A).
|
| 8. |
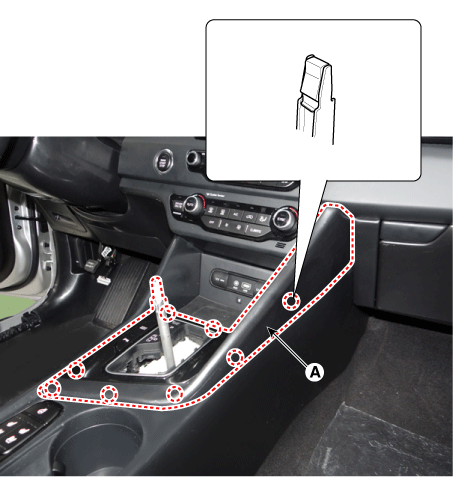
Remove the front console upper cover (A) by using a remover.
|
| 9. |
Disconnect the console upper cover connector (A).
|
| 10. |
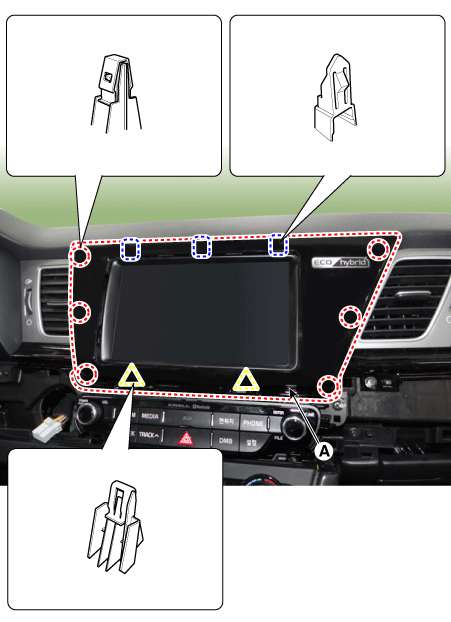
Remove the center fascia lower panel (A) by using a remover.
|
| 11. |
Install in the reverse order of removal.
|
 Center Fascia Panel Components and components location
Component Location
1. Center fascia panel assembly
2. Center fascia lower panel assembly
...
 Crash Pad Garnish [RH] Components and components location
Component Location
1. Crash pad plate assembly [RH]
...
Other information:
Kia Niro (DE HEV) Owners Manual: Interior overview
1. Inside door handle
2. Power window switch
3. Central door lock switch
4. Power window lock button
5. Outside rearview mirror control
6. Outside rearview mirror folding
7. Headlight leveling device
8. Instrument panel illumination control
9. BSD On/Off button
10. LKAS On/Off button
11. ...
Kia Niro 2017 (DE HEV) Service Manual: Dual Clutch Assembly Components and components location
Components
1. Retaining ring
2. Spline hub
3. Snap ring
4. Dual clutch assembly
...
