Kia Niro: Hood / Hood Assembly Repair procedures
| Replacement |
Be careful not to damage the hood and body. |

|

| 1. |
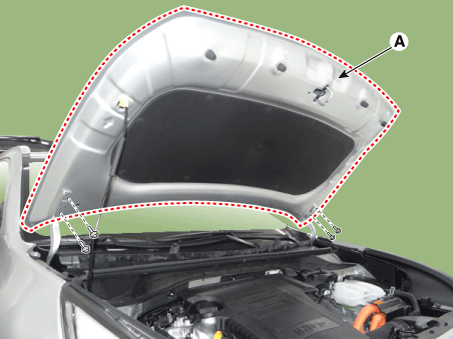
Remove the hood assembly (A) after loosening the hood hinge mounting bolts.
|
| 2. |
Install in the reverse order of removal.
|
 Hood Assembly Components and components location
Component Location
1. Hood assembly
...
 Hood Insulator Pad Repair procedures
Replacement
1.
Using a clip remover, detach the clips, and remove the hood insulator
pad (A).
...
Other information:
Kia Niro 2017 (DE HEV) Service Manual: Thermostat Repair procedures
Removal and Installation
Disassembly of the thermostat may have an adverse effect, causing deteriorated
cooling efficiency. Do not remove the thermostat, even if the engine tends
to overheat.
...
Kia Niro 2017 (DE HEV) Service Manual: TJ Joint Components and components location
Components
[LH]
1. BJ assembly
2. BJ circlip
3. BJ boot band
4. BJ boot
5. Dynamic damper band
6. Dynamic damper
7. Shaft
8. TJ boot band
9. TJ boot
10. Spider assembly
11. Retainer ring
12. TJ hou ...
